Monday, October 28, 2013

Chocolate Addict Cookies

All you chocolate lovers - this one's for you.  You are going to love the recipe I'm sharing in this post.  You're going to love me even more because I shared it with you. ;)  This is the best chocolate cookie recipe I have ever tried,ever.  It is fabulously easy and dangerously delectable.  It is the perfect cure for your worst chocolate craving (and if you're like me, you get chocolate cravings every afternoon).  Are you ready?  Okay, let us begin...

I first discovered these chocolatelicious cookies when my fiance's mom made them one day last winter.  It was true, honest-to-goodness love at first bite.  After several occasions of indulging in these cookies I asked her for the recipe.  And finally, after too many months I made the cookies myself today. (And just happened to discover that today is National Chocolate Day! What luck!)  And now I want you all to have this recipe too - you really will thank me for this... unless you're one of those questionable people who does not like chocolate.  In that case, you need to go to the doctor and have your taste buds examined.  Anyway, I digress...

These cookies are super easy to make and use basic ingredients.  

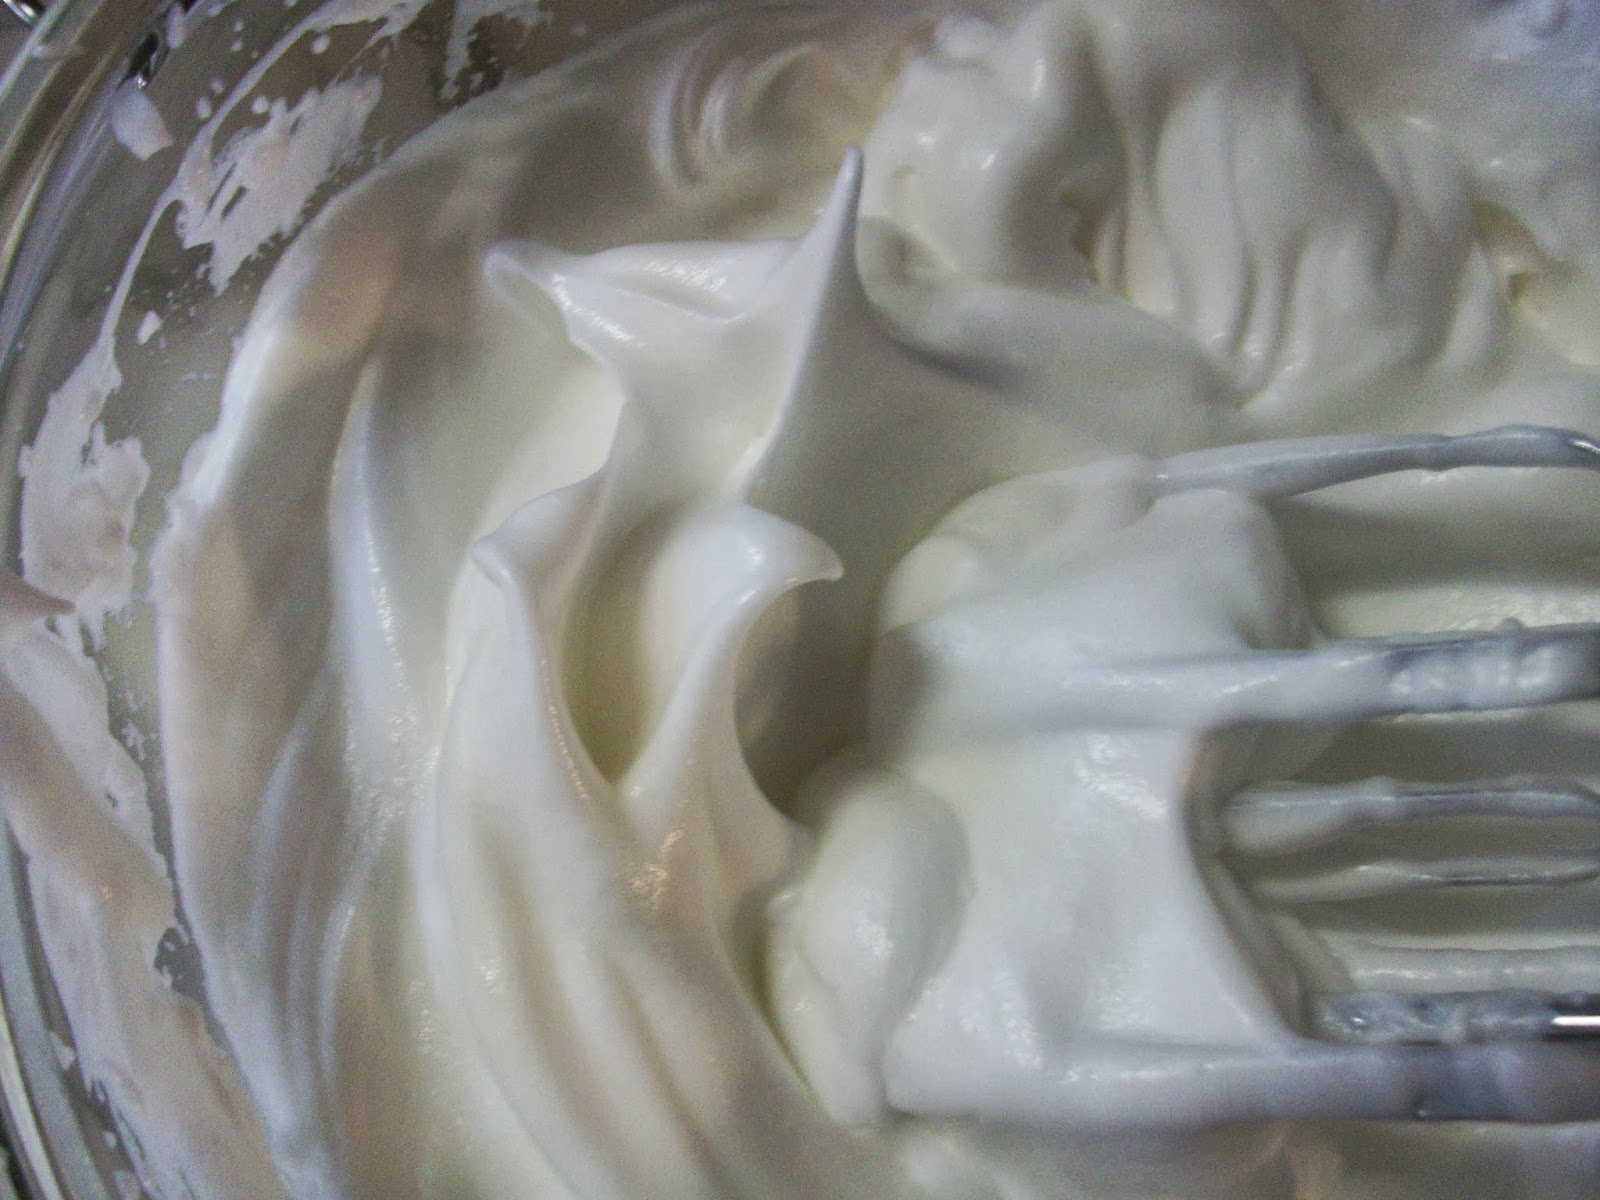
You will start by melting chocolate chips, butter, and sweetened condensed milk together.  I melted them in the microwave this time, but I'm sure it works just as well over the stove.  Once you have melted those 3 ingredients you will stir until the mixture is smooth and glossy.  It will look like this:


Now, in my honest opinion, you can just stop right here, grab a spoon, and begin eating.  But I'll continue on to the finished product anyway.  You will now add vanilla to the mixture and stir that in.  Finally, you will add flour and salt.  See how simple that was?  

Next, you'll just grease two cookie sheets.  You can spray the sheets with cooking spray and then wipe down with a paper towel or you can spread shortening on them.  I just use shortening.  There is also the option of spreading parchment paper on the cookie sheet.  Basically, make sure the cookies won't stick.  

*Random side-note: If you let the cookie dough sit for about 5 minutes without stirring, it will begin to take on a consistency similar to fudge.  It's even better like that!!*

At this point, you just scoop the cookies onto the prepared cookie sheet. I find that a cookie scoop works very well for this.  I use the 1 1/2 Tblsp. size but you can really use whichever size you prefer depending on how big or small you want the cookie to be.  Spray the scoop with cooking spray to prevent the dough from sticking to it. (Note: Notice scoop on left bottom corner of photo.)


Finally, you will bake the cookies for about 12 minutes.  Unless, of course, you're working with "That Old Oven" in which case, the bottoms burn if you leave them in there more than 5 minutes.  But for your typical not-old-oven 12 minutes should be good. :)  And this is what you get.  


It's basically fudge in the form of a cookie.  You're drooling about now, right? ;)  I advise making a double batch of these; they are so good they will go fast plus with all the spoonfuls of cookie mixture you sneak while you're waiting for the cookies to bake, it won't make quite as many!

These chocolate cookies are great for so many occasions - birthday parties, Christmas, picnics, any kind of get together, afternoon snacks, midnight snacks,... everyone will love them!  

Check out the recipe below and enjoy. :)

Seventh Heaven Chocolate Cookies

Ingredients:
12 oz. bag or 2 cups chocolate chips
1 can sweetened, condensed milk
1/2 stick butter
1 tsp. vanilla
1 cup flour
1/2 tsp. salt

Directions:
(1) Preheat oven to 350.  Heat chocolate, butter, and milk in bowl in microwave for 1 minute.  Stir and heat again for 30-60 seconds. Stir until smooth.

(2) Stir in vanilla.  Add flour and salt, mix.

(3) Grease two cookie sheets or cover with parchment paper.  Drop dough by spoonful onto cookie sheets.  

(4) Bake 10-12 minutes for soft or 12-14 minutes for chewy, rotating sheet halfway through.  

(5) Let sit on sheet for a few minutes before moving to cooling rack with a thin spatula.

(6) Eat! ...if you haven't already. :)


Friday, October 11, 2013

Lemon Meringue Pie (My Very Favorite!)


Well, the poll was successful.  You all chose my favorite pie to go in the first recipe post.  I must say, you have excellent tastebuds. ;)  Although I love cooking pretty much anything and would have been glad to share whichever recipe was chosen (and will still do so in a future post) I was hoping the lemon meringue pie would win!  I'm a bit partial to pies in general and lemon meringue has always been one of my best.  It is very fitting that this is the first recipe to go on here.  So without further ado...

The first thing you will need to do is make the pie crust.  I was using a previously made and frozen pie crust on this particular day so all I had to do was take it out of the freezer the day before and put it in the fridge to soften a little.  (Tip:  Making several pie crusts in one day and freezing them all for future use is super helpful for those spur-of-the-moment times when you want/need to make a pie.  And it saves time!)  I will share the recipe I use for pie crusts in an upcoming post but for now - use whichever recipe works best for you!  You can also buy pie crust pre-made at the store.  But I don't recommend it; it takes away from the fun and authenticity of your pies! :)  

Anyway, roll out your crust on a floured surface.  It doesn't matter if the edges are pretty because they will tucked under or cut off anyway.  (And I have a great tip for those left-over crust pieces that will be coming in the pie crust recipe post!)  

Once the crust has been rolled out to the desired size, fold it gently into fourths and place the corner of the fold directly in the middle of the pie plate.  Unfold, and use a fork or your fingers to decorate edge of crust as you wish.  When I make a pie where the crust needs to be cooked before adding the filling, I use pie weights to keep the crust from bubbling up and getting air holes underneath.  As an additional step, I poke holes in the pie crust bottom and sides before adding the pie weights; my grandma always did that with hers and it does help even more!


Before placing the pie crust in the oven to cook cover the edges of the crust with either a piece of foil or a pie shield.  I use a silicone pie shield - it has an adjustable size and can be washed and used over and over unlike foil.  Shielding the pie crust doesn't just prevent it from burning; I've found that it also helps the crust not to shrink as much.

While the crust is cooking, begin preparing the meringue.  The meringue recipe I use is a bit involved but it works well 99% of the time.  The first step of this involved heating up cornstarch, sugar, and water over medium heat on the stove until it is thick and bubbly.  You're supposed to stir it the entire time it's over the heat... but... I never do that. ;)  Maybe it would improve the recipe even more but it's just one thing in cooking that I never have the patience for!  Once ready, it will look all thick and goopy and honestly, rather icky, like this.
Not very appetizing, I know.  But it works!  The pie crust is probably ready to remove from the oven now. 

While that's cooling (it's supposed to cool completely before the next step), you can start with the filling.  The yummy, lemony part!  It's quite similar to the meringue actually.  Heat up cornstarch, sugar, and water until think and bubbly (stirring the whole time, yeah right!).  Then you will need to separate three egg whites and yolks.  Pour half of the goopy substance into the bowl of egg yolks and then pour it all back into the pan on the stove.  Cook for about two more minutes, continuing to stir, sort of.  Remove the pan from the heat and mix in lemon juice and butter.  At this point it will start looking more like lemon filling.

Scoop out the pie weights and immediately pour the filling into the pie crust. (My crust shrunk a bit because I forgot to add the pie shield until after it had been in the oven for a good 7 minutes.)

  Head back over to the blob of meringue sugar mixture that we left in the pan.  Beat together on high speed egg whites and a touch of salt in a medium sized bowl.  Once soft peaks have begun forming like below...

...it's time to start adding in the goop!  Add the goop a little at time.  I usually do so in three scoops.  Beat again on high speed until you have stiff peaks.


Now comes the fun part!  Well, the really fun part - each part is fun!  Use an icing spatula to spread the meringue over the lemon filling.  Make sure the meringue goes all the way to the edge of the pie so that it seals in the filling like a crust.  Add a little design with the peaks on top of the pie using the spatula.  Then pop in the oven for about 15 minutes or until meringue is golden brown.  Voila! 

 You have a beautiful, delicious lemon meringue pie.  Recommended:  Refrigerate for 6 hours or so until chilled.  It's good room temperature, but it is absolutely divine cold. :)

Lemon Meringue Pie

Meringue:
1/2 c. sugar
4 tsp. cornstarch
1/2 c. cold water
3 large egg whites
1/8 tsp. salt

Filling:  
3 large egg yolks
1 1/2 c. sugar
1/3 c.  plus 1 tbsp. cornstarch
1 1/2 c. water
3 tblsp. butter
1/2 c. lemon juice

(1) Bake pie crust.  Heat oven to 350. 

(2) *Meringue -  Mix sugar and cornstarch in a saucepan.  Stir in water and cook over medium heat stirring constantly, until mixture thickens and boils.  Boil and stir for 1 minute.  Remove from heat.  Cool completely while making filling.  (Hint: Place in freezer to cool faster.)

(3) *Filling - Beat egg yolks with fork and set aside.  In another saucepan, mix sugar and cornstarch.  Stir in water.  Cook over medium heat, stirring constantly until mixture thickens and boils.  Boil and stir for 1 minute.  Immediately stir half of the hot goop into egg yolks. then stir back into hot goop in saucepan.  Boil and stir for 2 minutes until it is very thick. (Boiling less than 2 minutes may cause filling to be too runny.)  Remove from heat.  Stir in butter and lemon juice.  

(4) *Meringue - In medium bowl, beat egg whites and salt on high speed until soft peaks begin to form.  Gradually beat in goopy, sugary mixture until stiff peaks form.

(5) Spoon filling into pie shell.  Spoon meringue onto pie filling and spread carefully with an icing spatula, being sure to seal the edges.  Bake 15 minutes or until meringue is golden brown.  Cool at least 2 hours and cover.  Doesn't have to be refrigerated right away (unless you prefer it cold, like me :) ) but after two days, I would recommend refrigerating it.  


Saturday, September 28, 2013

Greetings,


Welcome to my blog.  This blog has been a thought in mind for many months and finally has come to be.  My mum and best friend were the ones who gave me the idea for a food blog originally.  The more I thought about it, the more I liked it.  I mean, I love food.  Like, really love food.  And I love to write.  So, why not start writing about food?  I think I will enjoy this. And I hope my readers will too.  I'll try to keep the ramblings tolerably short but my mind runs nonstop and writing is where all of those thoughts most often come out. :)  

That Old Oven.  The name of my blog.  Probably the biggest hold-up in me getting this started.  All clever, catchy possible names go into hiding the moment I try and think of a name.  I finally decided on "That Old Oven".  Why?  Because.  The oven I cook in is old.  Very old.  About 50 years old to be exact.  And still works... well, mostly... you have to learn a few tricks to know how to work it just right... add a few steps that they probably don't include in most cookbooks.  Like "Halfway through the biscuits cooking, remove pan from oven and flip all of the biscuits over so that they will cook on both sides".  Or, "Flatten cookies with palm of hand before placing sheet in oven.  If you don't they will stay in little mounds and be burnt on the bottom and gooey inside".  Or, "If the oven fan is rattling too much, give it a good whack. Works like magic".  That is the old oven.  Actually, if you know what the Flair ovens from the 60s looked like then you know what kind of oven I'm working with.

Despite all of that, delicious food still comes out of there.  It amazes me.  But it's also like a challenge.  I watch a cooking show where they're using top-of-the-line ovens and their food comes out perfect and I think "I can do that.  Old oven or not". And when I succeed, it's a victorious moment.  I mean, just take a look at some of the stuff that comes out of it.


Yeah, I like pies.  And that chicken was fabulous by the way.  I'll be sharing that recipe soon.  ;)

Even with all it's quirks it does well.  And here is a girl who has learned to cook all sorts of meals and desserts with That Old Oven. So yes, the name that seemed best for this - That Old Oven.